Configure SLA#
SLA (service-level agreement) is non-functional requirements that determine the criteria for the success of the tests performed.
In PFLB Platform, you can add SLA for different scopes:
tests
transactions
requests
To add an SLA, follow these steps:
Open the test project.
Go to the Load profile tab.
Click SLA. The window opens:
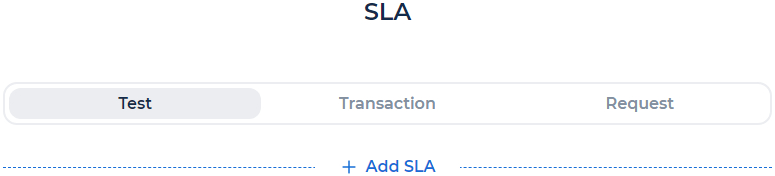
Select the scope: Test, Transaction, Request.
Click + Add SLA. The window opens, for example, the Request scope:
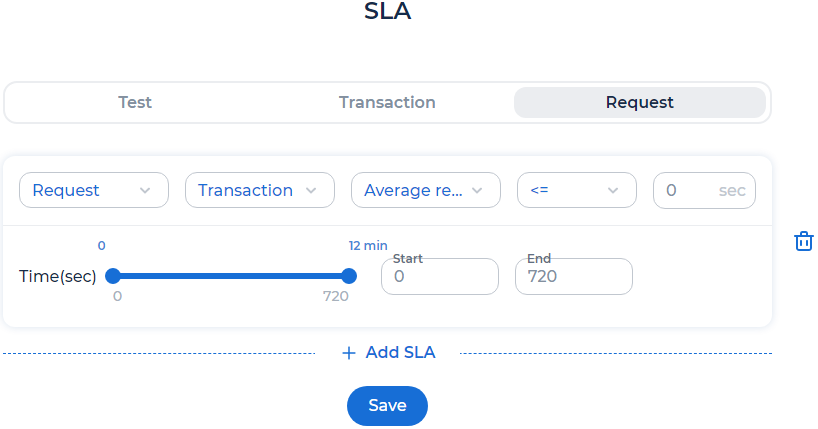
If you’re adding an SLA for a transaction, select the transaction of the test. If you’re adding an SLA for a request, select the request and the transaction of the test.
Select one of the metrics:
Average response time. Average system response time to a request or transaction.
Error rate. The percentage of errors is calculated depending on the scope:
transaction: errors are calculated only when executing a transaction, excluding requests.
request: errors are calculated only when executing the request.
test: errors are calculated only when executing all requests, excluding transactions.
Percentile 95. The value which is greater than 95% of response time for the request, transaction or test.
Request per second. Number of requests sent per second.
Select one of the conditions: <= or >.
Enter a threshold of the metric (SLA).
In the fields Start and End, enter the period for which PFLB Platform calculates the metric at the end of the test if needed.
Click Save.
To delete SLA, click  .
.